Showing posts with label Framelit. Show all posts

Monday, July 2, 2012

Do Your Bit of Good


Thinking about our Founding Fathers this week. The did a "little bit of good" and sure did overwhelm the world. So here's a simple & clean style card for your busy week ahead.

To make a card that looks like mine, you’ll need the following supplies. Remember, if you need any of these supplies, just click on the name of the item and it will take you directly to my shop.

Supplies:

Directions:


  • Card base is standard size.
  • Whisper White piece is 4 x 5/14, with edge punched with the scallop trim border.
  • Run the Whisper White piece through the Big Shot in the Perfect Polka Dot embossing folder.
  • Adhere Whisper White piece to the card base.
  • Cut a Midnight Muse mat using the 3rd die from the center of the Labels Collection framelits.
  • Stamp sentiment from Pursuit of Happiness set on Whisper White with Midnight Muse ink.
  • Using the 2nd die from the center of the Labels Collection framelits, cut out sentiment using the Big Shot, being sure that sentiment is centered in die.
  • Adhere sentiment to Midnight Muse mat.
  • Adhere sentiment & mat to card base using dimensionals. 
  • Cutting a small slit in the fold of the card, thread ribbon through slot and under mat (the dimensionals create a space that allows for this)
  • Tie ribbon in knot on right hand side.


Are you getting inspiration from this blog?   One way you can help support it is to order your Stampin’ Up products through me.   Click HERE to place an order and have your order delivered directly to your door step from Stampin’ Up!

Take some time to get your pinky inky today.

Friday, June 15, 2012

Fast Card Friday - Heartfelt

Need something  f a s t - this one works up pretty quick. It can be used for birthdays, sympathy cards or just to write a note home to your mother (write your mother!).


To make a card that looks like mine, you’ll need the following supplies. Remember, if you need any of these supplies, just click on the name of the item and it will take you directly to my shop.


Supplies:
Layered Labels stamp set *clear mount set
*clear mount sets require clear mount blocks

Card is standard size.
Run card base through Big Shot with the rounded embossing folder from the Adorning Accents embossing folder set.
Stamp "Heartfelt" in Night of Navy on Whisper White card stock.
Using the larges framelit in the Apothecary Accents framelit set, set on top of the stamped image and run through the Big Shot.
Using a piece of Night of Navy card stock TRACE around the outer edge of that same framelit. Cut out and adhere stamped piece on top.
Adhere the layered "Heartfelt" piece on top of the card base centering to the embossed edge.


See that wasn't hard was it. AND it was F A S T!  Let your creative side soar today - make something!


Wednesday, June 13, 2012

Graduation Gift Card holders

It's that time of year - graduations, baby showers, weddings and of course birthdays. We've got a little of everything going on here at the Inky Pinky household. We have 2 young cousins that are graduating high school. So I whipped these up to hold the gift cards we're sending.


To make a card that looks like mine, you’ll need the following supplies. Remember, if you need any of these supplies, just click on the name of the item and it will take you directly to my shop.


Supplies:
Layered Labels stamp set (* I used Clear Mount stamps and a Clear Mount Block)
Scrap of white computer paper.
Thread to match vest & cap

Card:

Card base is Basic Black card stock cut at 4 1/2 x 6 1/2, scored at 2 /14.
Punch out owl using Basic Black card stock.
Punch out wings from the Bird Builder punch using Basic Black card stock.
Punch out vest in whichever color you choose.
Cut graduation cap 3/4 x 3/4
Build owl according to photo.
Adhere to scalloped circle and adhere to card.

Cap:

Using Paper Piercer, make hole in center of cap.
Take a small short strip of Basic Black card stock and "fringe" most of it leaving a tiny part that is not. This part needs to be large enough to hold glue.
Take a black brad, place it in the hole in the center, placing the "fringed" piece of black card stock so it sits just under the brad. This creates the tassel. 
Place a dimensional on the back of the cap and set on owl according to the photo.

Stamp Happy Graduation using from the Teeny Tiny Wishes stamp set in black ink on Whisper White card stock.
Using the Modern Label Punch, punch a mat for the sentiment to match the vest & cap.
Adhere these to the card.

Inside of card:

Using Whisper White card stock and ink to match your owl's outfit, stamp "For You" from the Layered Labels stamp set.
Using the Apothecary Accents Framelit that matches the "For You" shape, lay this on the stamped image, being sure that it is centered and covers the stamped image. Run through the Big Shot.
Using the same framelit cut one more piece out of Whisper White for your signature.
Sign and adhere signature piece.

Creating the gift card pocket:

Cut a piece of Basic Black card stock 4 1/2 x 3.
Score at 1/4 along 3 sides.
Crease the score lines and remove the "square" that is created at the corners. 
Notch the corners of the "flaps" where the "square" has been removed. This allows for the piece to fold easier and lay flatter. 
Along the one long side that IS NOT SCORED, use the 1" circle punch centered along the edge, but only about 1/2 way in, punch a half circle for a space to reach in for the gift card.
With Tombo glue, glue down the "flaps" to the inside of the card being sure to keep the piece centered.
Adhere the "For You" shape.

Diploma:

Using a scrap strip of white computer paper, wrap around a small object like a tooth pick. Wrapping tightly. I like to put a tiny bit of adhesive at the beginning edge and then wrap so it doesn't flop around and a bit at the end so it stays shut. Then use a coordinating piece of thread to tie it. Adhere using a bit of Tombow glue.


This really took longer to write than it did to create! LOL Naturally this can be adapted to met your needs using different colors or dressing your owl to met the occasion. 

Take some time to make something today.

Wednesday, May 23, 2012

Mom's Birthday Card

Today is my Mom's birthday. Now I love my Mom and I don't want to get on her bad side so I'm not telling you her age but I will tell you that she LOVES to get mail. She especially loves handmade cards. This one is for her.

This simple but elegant card is just my Mom's style.

Supplies:
Basic Black card stock - cut in a tent style card
Framelits - Labels
Basic Black Scalloped Polka Dot Ribbon
Mixed Bunch stamp set
Big Shot
Sponge Dauber
Dimensionals

Stamp Whisper White with image from the Mixed Bunch set in Daffodil Delight. Ink edge with Daffodil Delight ink.
Adhere Basic Black Scalloped Polka Dot ribbon on Daffodil Delight strip cut @ 1" x 4 1/4". Adhere to card.
Adhere stamped Whisper White layer over the ribbon layer.
Cut labels from Framelits with Big Shot. Use the smallest Label Framelit for the Whisper White piece and go up one size for the Daffodil Delight piece.
Ink the Daffodil Delight piece with black ink.
Stamp sentiment in Black Stazon ink. (Sentiment is from the Elementary Elegance stamp set which was only available during Sale-a-bration. Other sentiments will work just as well.)
Ink the Whisper White piece first with Daffodil Delight ink, being sure to ink a bit into the frame and not just the edges. Then ink with black ink.
Adhere the Daffodil Delight Label on top of Whisper White mat.
Adhere the Whisper White Label with dimensionals.


Take some time today to make something for someone you love.


Friday, May 18, 2012

Masculine Fast Friday Card

Father's Day will be here before you know it. Today's card could be used for Father's Day or any occasion. Many of the items used in today's card will be retiring soon, so if you want them, don't deal.

Supplies:

Well Worn Designer Series Paper
Naturals Ivory card stock
Basic Black card stock
Black Stazon ink
Framelits - labels
In Wilderness stamp set
colored pencils - craft store
3 black brads

This card is pretty self descriptive from the photo and the supply list. Remember, if you need any of these supplies just put your cursor over the item and click through to my store.

Have some fun with your supplies today and make something!


Tuesday, May 1, 2012


Tip Tuesday – Embossing

I’ve got 2 tips for you today. The first is for embossing and the second tip is for cutting with Stampin’ Up! Framelits.

Tip 1

Embossing Buddies are no longer available. The manufacturer doesn’t make them any longer. We’ll I’m gonna share a little trick I learned a loooooooooooong time ago – long before the invention of embossing buddies.
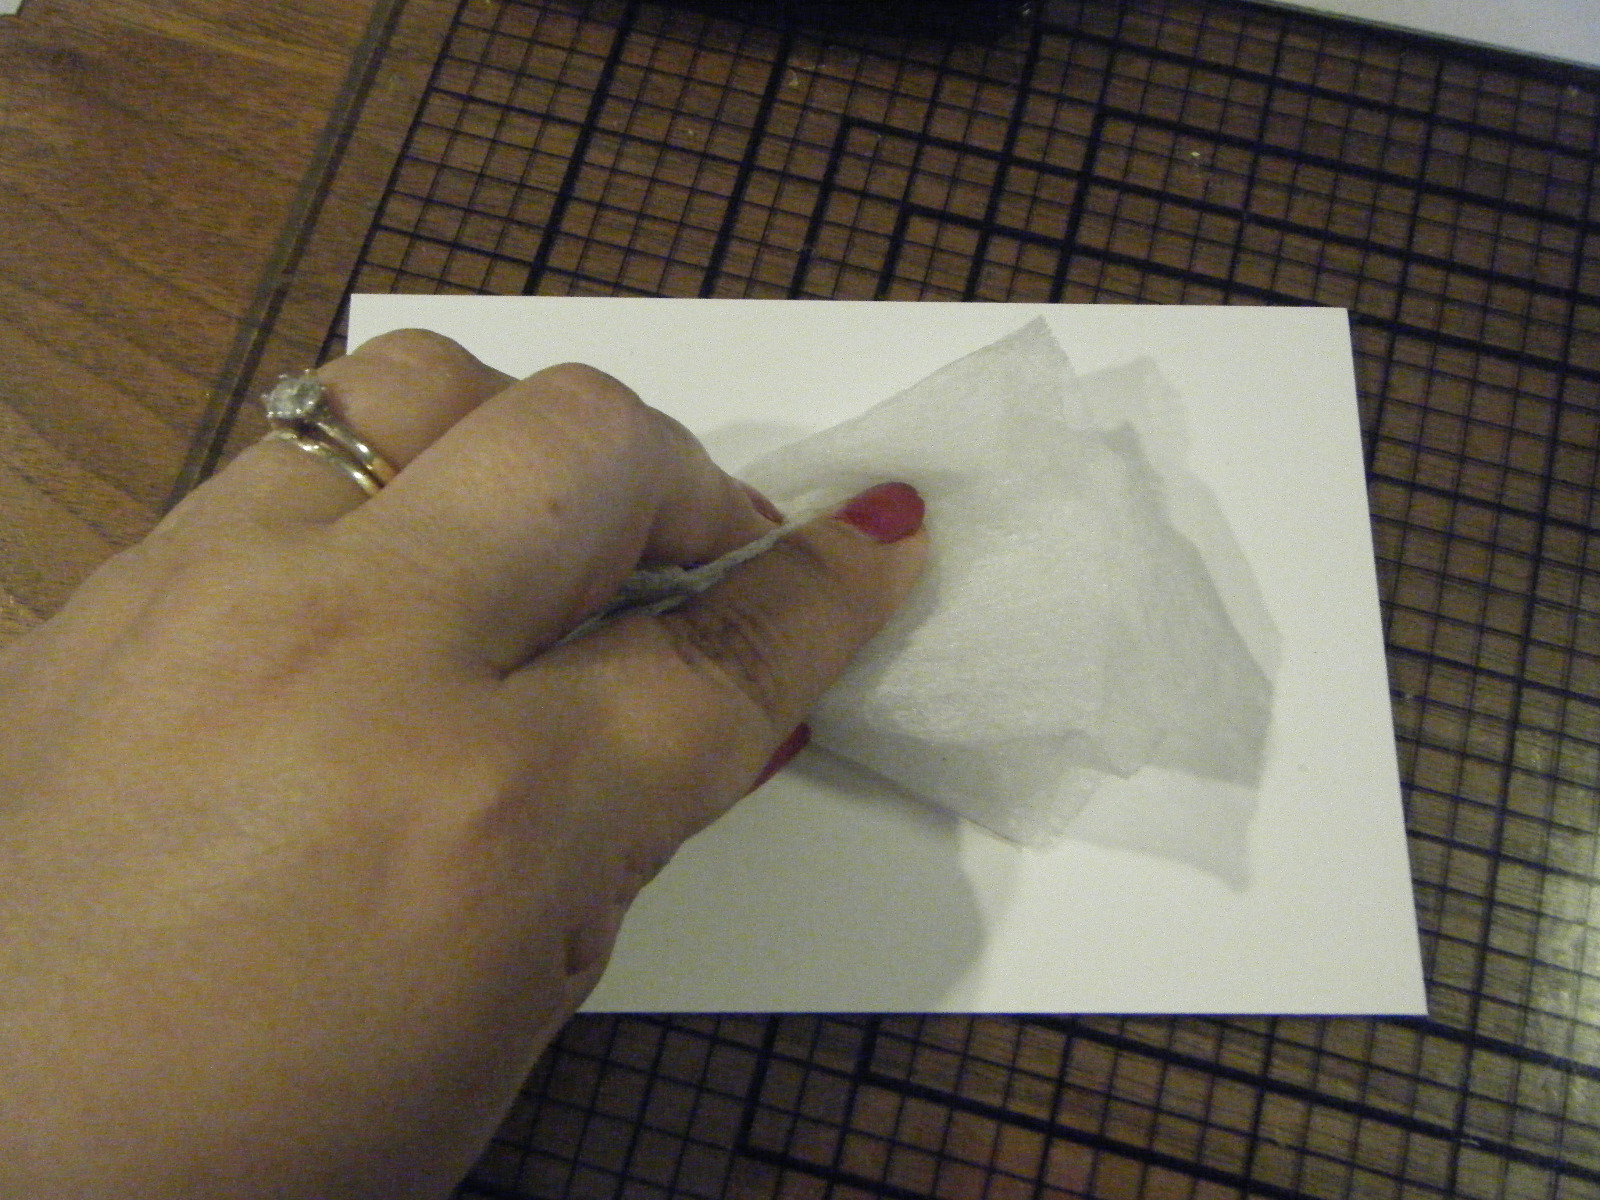
Back in the dark ages when I started stamping we didn’t have any of those “new fangled fancy toys” to help with embossing. I didn’t even own a heat gun when I started embossing, I used a toaster, but that’s a different story! Static electricity was around even then though and it would mess with your embossing powder sticking making it stick in odd places that you didn’t want. What to do?! We’ll we just took an old drier sheet – one that had been used – and rubbed it on the card stock. Took the static right out and you could emboss all pretty!

 Gather used drier sheets and hide them in your craft area. Otherwise, your family will throw them away.


Rub the drier sheet on your card stock. Be sure to rub the entire.

 Stamp image and pour on embossing powder.

This is the image with the left side still covered with embossing powder and the right side had been melted into the image already. 

Entire image is embossed with no random areas of embossing powder.

  Tip 2

When using the Stampin’ Up! Framelits or any of the metal edged dies (think Nestablities) use a bit of painters tape to hold the paper and die in place. The tape will not pull up the paper or ink when removed, therefore not interfering with stamped and colored images.

Stamped image with Framelit adhered with painter's tape.

Here's our freshly embossed and cut image sitting on some Wisteria Wonder paper, in keeping with our Wisteria Wonder Week theme. The image is clean with no random embossed areas and the cut is even and centered. 

We'll take this image and dress it up on Friday for our fast card.

The Labels Collection Framelits and the stamped image (Bordering on Romance - clear mount) have been carried over from the Occasions Mini. Stop by my shop to place your order.

Now, aren't you curious to try out these cool tips? What are you waiting for ... grab your supplies and make something.